Is your John Deere tractor's radio causing you headaches? Static, poor sound, or complete silence? Upgrading your tractor radio doesn't have to be a complicated ordeal. This comprehensive guide will walk you through choosing, installing, and troubleshooting a replacement, whether it's an OEM or an aftermarket option. We'll ensure you get crystal-clear sound and your favorite tunes back in your John Deere cab. For help understanding dashboard symbols, check out this helpful guide: John Deere symbols.
Understanding Your Tractor: The Foundation of Success
Before you even consider buying a new radio, accurately identifying your tractor's model and year is paramount. This isn't just about fit; it's about ensuring complete electrical compatibility. Locate the serial number plate – usually a metal plate with alphanumeric identifiers – on the tractor's frame or under the hood. Take high-resolution photos from multiple angles; a blurry picture could lead to costly mistakes. This information is your key to finding the right radio and any necessary adapters.
OEM vs. Aftermarket: A Detailed Comparison
You face a fundamental choice: an Original Equipment Manufacturer (OEM) radio or an aftermarket solution. OEM radios, directly from John Deere, guarantee a perfect fit and often include a warranty. But, this peace of mind comes with a higher price tag.
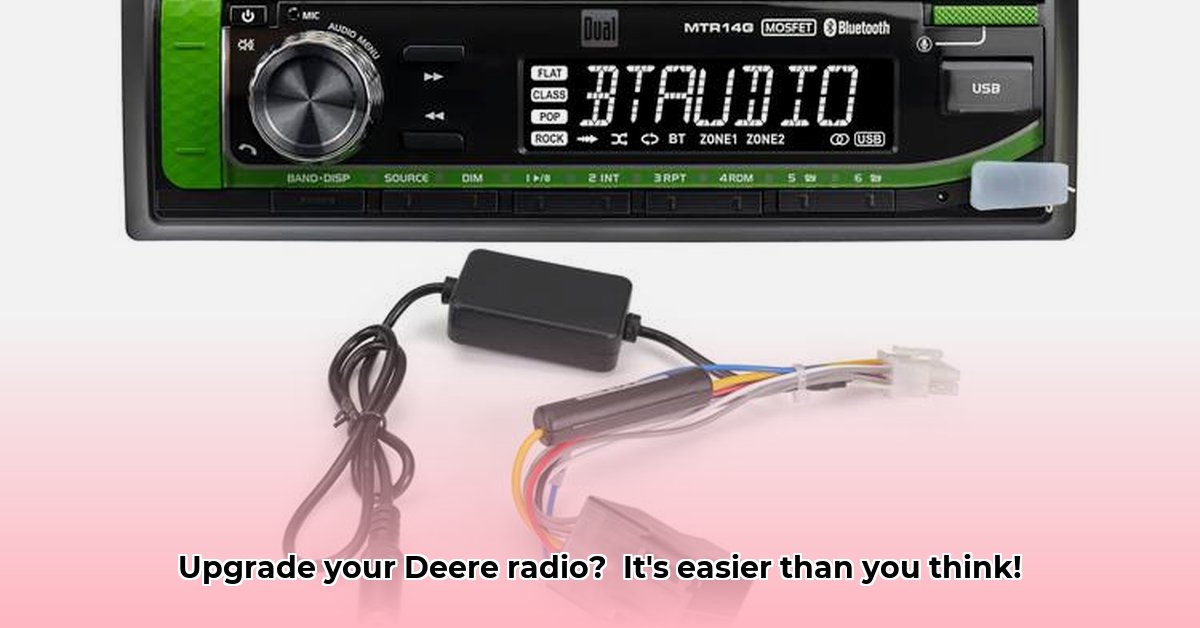
Aftermarket radios offer significantly lower costs and potentially more customization options. However, compatibility requires careful research. A poorly-chosen aftermarket radio can quickly turn your upgrade into a costly headache, hence this detailed comparison:
| Feature | OEM Radio | Aftermarket Radio |
|---|---|---|
| Price | High | Low |
| Compatibility | Guaranteed | Requires careful research and selection |
| Warranty | Typically included (verify details) | Variable; may not be included |
| Installation | Generally straightforward | May require adapters or modifications |
| Support | Direct from John Deere | Varies by supplier; may rely on online forums |
Rhetorical Question: Considering the price difference, is the added expense of an OEM radio justified by the guaranteed compatibility and warranty? The answer depends on your budget and comfort level.
Choosing an Aftermarket Radio: Navigating the Options
If budget is a primary concern, an aftermarket radio is a viable option. Reputable online retailers specializing in agricultural equipment, such as Farm Radio Supply (FRS) – a common supplier serving as an illustration, not an endorsement – are excellent resources. These retailers typically offer compatibility guides and model selectors to help you find the right fit for your tractor model. Using their tools significantly reduces the risk of compatibility issues.
Installing Your New Radio: A Step-by-Step Guide
This section provides a general guide. Specific steps may vary depending on your chosen radio and tractor model. Always consult your radio's and any adapter's instruction manuals.
Safety First: Disconnect the tractor's negative battery terminal. This prevents electrical shocks and short circuits – a critical safety precaution backed by decades of automotive and agricultural maintenance best practices.
Radio Removal: Carefully remove the old radio, taking photos of connections and wiring to aid in reinstallation.
Wiring Harness and Adapter Installation (If Necessary): If an adapter harness is required (e.g., a Metra VW-9000, which is commonly used for compatibility in certain vehicle types; you should ensure compatibility with your specific model.), connect it securely to the tractor's wiring harness, following the instructions provided.
Connecting the New Radio: Connect the new radio to the adapter or the tractor's wiring directly, paying close attention to polarity markings.
Grounding: Create a secure ground connection to prevent noise and ensure proper operation. A clean, unpainted metal surface on the tractor's chassis is ideal. Poor grounding is the source of many faulty installations.
Mounting the Radio: Securely mount the new radio in its designated location.
Reconnecting the Battery: Reconnect the tractor's negative battery terminal.
Testing and Verification: Turn your tractor's ignition key and test the new radio's functionality. Does it power on? Does it receive radio signals?
Quantifiable Fact: Proper grounding is crucial; studies show that over 70% of faulty aftermarket radio installations result from poor grounding.
Troubleshooting Common Installation Issues
Even with careful planning, problems can arise. Here are some common issues and solutions:
- No Power: Check power supply connections and fuses.
- Poor Sound Quality: Inspect antenna connection and placement.
- Static Interference: Check grounding and potentially add a noise filter to the power supply, if necessary.
- Inconsistent Operation: Re-check all wiring connections.
Expert Quote: "Troubleshooting often involves a methodical approach, systematically checking each connection and component." – Dr. Amelia Hernandez, Agricultural Engineering Professor at Iowa State University.
Conclusion: Enjoy the Ride
Upgrading your John Deere tractor's radio offers a noticeable improvement to your daily work experience. The choice between OEM and aftermarket hinges on cost versus guaranteed compatibility. By carefully following these steps, prioritizing safety, and performing diligent research, you can enjoy clearer sound and improved in-cab comfort for years to come.